Help
Workey needs macOS 14 or later. Still stuck? Email admin.workey@gmail.com.
Installing Workey
- Download Workey.dmg and open it from your Downloads folder. In the window that appears, double-click Workey.
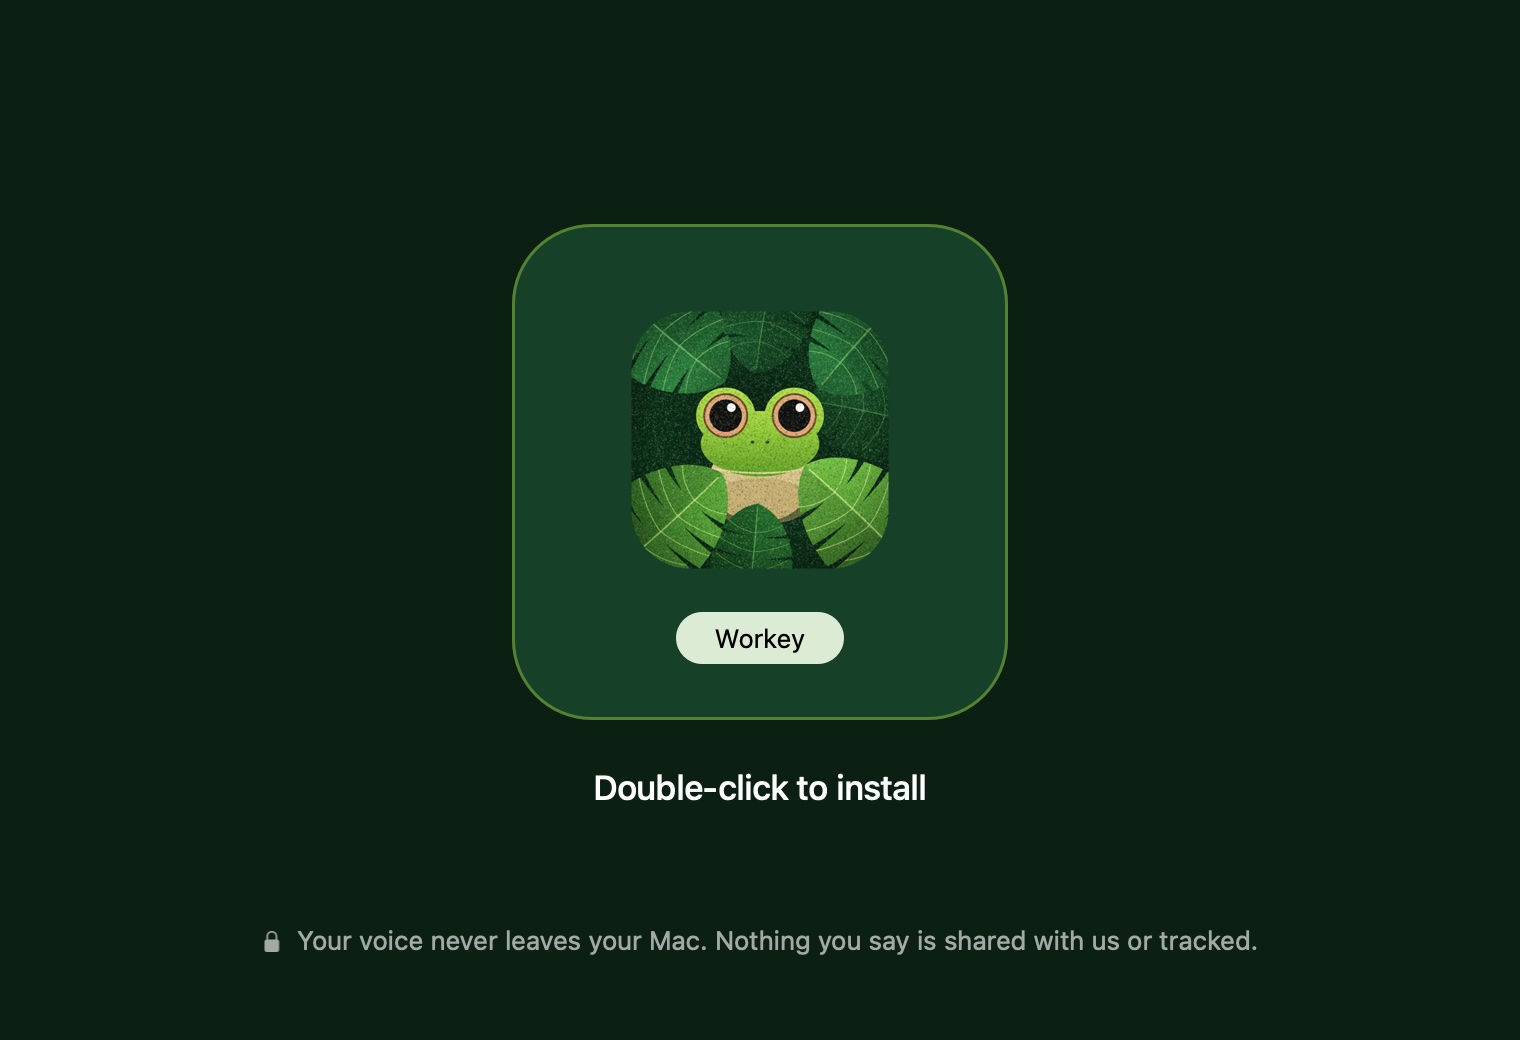
- macOS checks Workey with Apple and asks if you want to open an app downloaded from the internet. Click Open.
- Workey moves itself into Applications, ejects the disk image and starts its setup: sign in, then the microphone and typing permission.
Signing in
Workey needs an account, and its setup asks you to sign in: enter your email and type the 6-digit code it sends, or use Continue with Google. The code works for 15 minutes; if it doesn’t arrive, check your spam folder or ask for a new one. An account works on one Mac at a time.
The permissions
Workey asks for these the first time. Its Setup page shows which are on, with a button that opens the right place in System Settings.
- Microphone, to hear you: System Settings, Privacy & Security, Microphone, turn on Workey.
- Speech Recognition, to turn your voice into text: System Settings, Privacy & Security, Speech Recognition, turn on Workey.
- Accessibility, to notice the shortcut key in other apps and paste where you’re typing: System Settings, Privacy & Security, Accessibility, turn on Workey.
The clipboard
Workey keeps what you copy (text, links, images and files) so you can paste it again later. Press Option Command V for the quick panel, or open Clipboard in Workey’s window to search everything, pin what you want to keep, and copy several items at once. Search narrows with from:Safari or is:image.
- Pause saving with the pause button on the Clipboard page, for example while you copy something private.
- Copies that password managers mark as hidden are never saved. To leave out an app entirely, add it in Settings, Clipboard.
- Clean up clipboard text repairs what you just copied: broken lines from PDFs, Markdown symbols from ChatGPT and hidden characters.
- Everything stays on your Mac. Clearing the history keeps pinned items unless you clear everything.
The colour picker
Press Control Command C, move the pointer over any colour on screen and click to copy its code; Escape cancels, the arrow keys move one pixel at a time, and Tab switches the format. The first time, macOS asks for Screen Recording: switch on Workey in System Settings, Privacy & Security, Screen & System Audio Recording, then open Workey again. Workey only looks at the pixels around the pointer while you pick.
Common problems
The text doesn’t appear where I’m typing
Turn on Accessibility for Workey (above). If it already looks on, select Workey in that list, remove it with the minus button, and add it again, or click the Accessibility row on Workey’s Setup page. Nothing is lost meanwhile: everything you say is kept in Workey’s Clipboard, ready to copy.
Using Control? macOS Dictation may start too
Workey starts with a double tap of Fn, the Globe key at the bottom left. If you switched it to Control (or set Workey up before version 1.2.5, when Control was the start key), macOS may also start its own Dictation, or say “Siri and Dictation are disabled”, because “Press Control Key Twice” is one of its shortcuts. Open System Settings, Keyboard, and under Dictation pick another shortcut, or switch Workey back to Fn in its Settings.
The emoji picker or Dictation opens when I press Fn
macOS uses the Fn (🌐 Globe) key too. Open System Settings, Keyboard, and set “Press 🌐 key to” to Do Nothing. Then each tap goes only to Workey.
“Speech recognition isn’t installed” for my language
Workey uses your Mac’s on-device speech model. Open System Settings, Keyboard, and turn on Dictation once; macOS downloads the model, and you can turn Dictation off again afterwards.
Music or a video went quiet
Workey mutes your Mac while you dictate and unmutes it when you finish. To turn a call or a video into text instead, tap the speaker button on Workey’s bar while it’s listening.
Workey says I’m out of minutes
The free plan includes 30 minutes a month, counted from the 1st. Workey, Account shows how much is left and the Pro plans, and a free-access code goes in Account too.